TCL 55" QLED - LED Backlight Strip Replacement
TCL 55R745 with dark spots and uneven backlight. Complete LED strip replacement with proper panel disassembly, testing, and calibration procedures.
Symptoms
- Dark spots visible on screen (especially on white backgrounds)
- Uneven brightness across the panel
- Flickering sections on the left side
- Some areas completely dark while others are bright
Diagnosis
The 'Flashlight Test' confirmed the LCD panel was functioning - a faint image was visible when shining a bright light at the dark areas. This ruled out panel failure and pointed to backlight issues. Removed the back cover and tested the LED driver output - stable 48V present. Used an LED tester to check continuity on each strip. Found strips #3 and #7 (out of 12 total) showing open circuit. Since LEDs are wired in series per strip, one failed LED kills the entire strip. Given the age of the TV (3 years) and the fact that LED degradation affects all strips over time, a complete set replacement was recommended rather than replacing just the two failed strips.
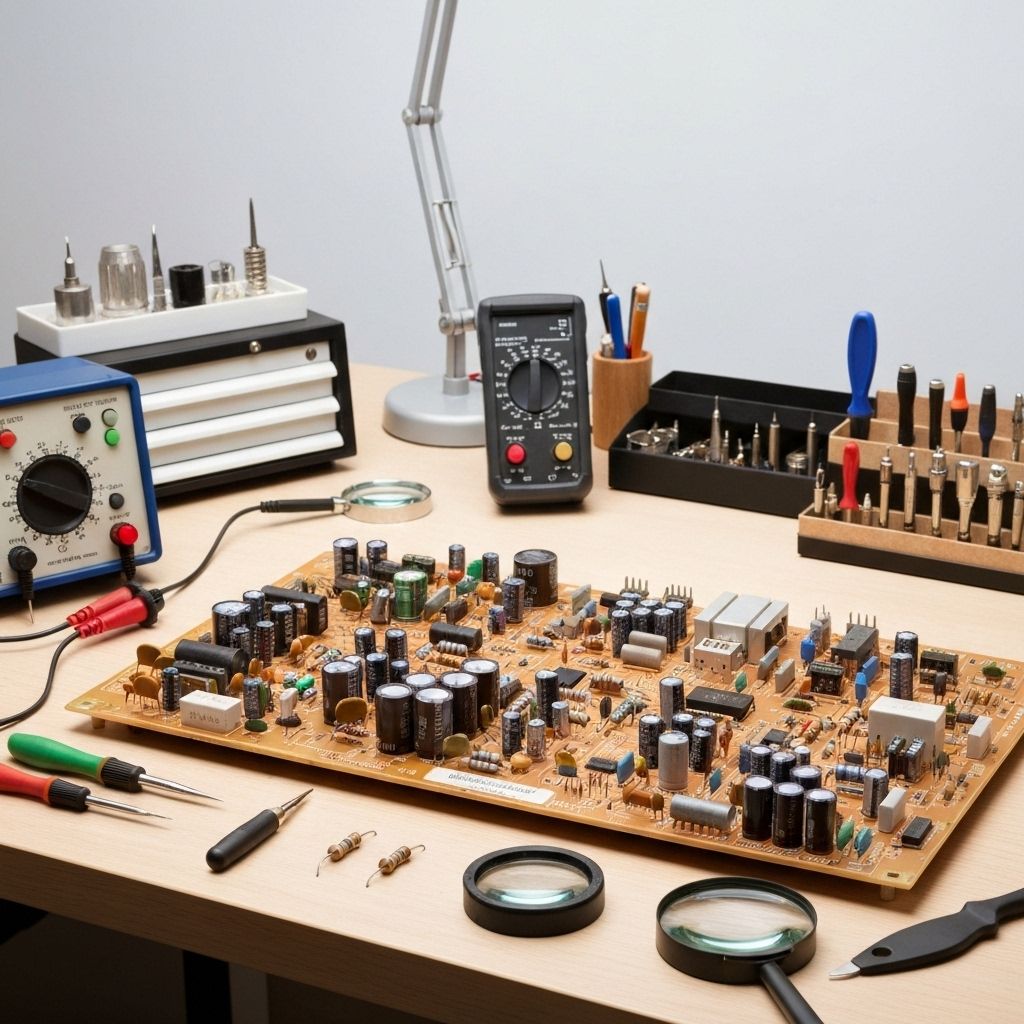
- Large Suction Cups (4-6 pieces)
- Phillips Screwdriver Set
- Plastic Pry Tools
- LED Backlight Tester (12V)
- Soft Cloth / Microfiber Towels
- Isopropyl Alcohol 90%+
- Heat Gun (low setting)
- LED Backlight Strip SetTCL 55R745 12-strip kit 48VFull set replacement recommended for uniform aging
- 3M VHB TapeDouble-sided 1mmFor securing strips if original adhesive fails
Repair Process
Safety and Preparation
Unplug the TV and wait 30 minutes. Lay the TV face-down on a large, soft surface (blanket over a table). CRITICAL: The LCD panel is extremely fragile - any pressure point or twist will cause permanent damage. Work in a clean, dust-free area as any particles trapped behind the panel will be visible as dark spots.

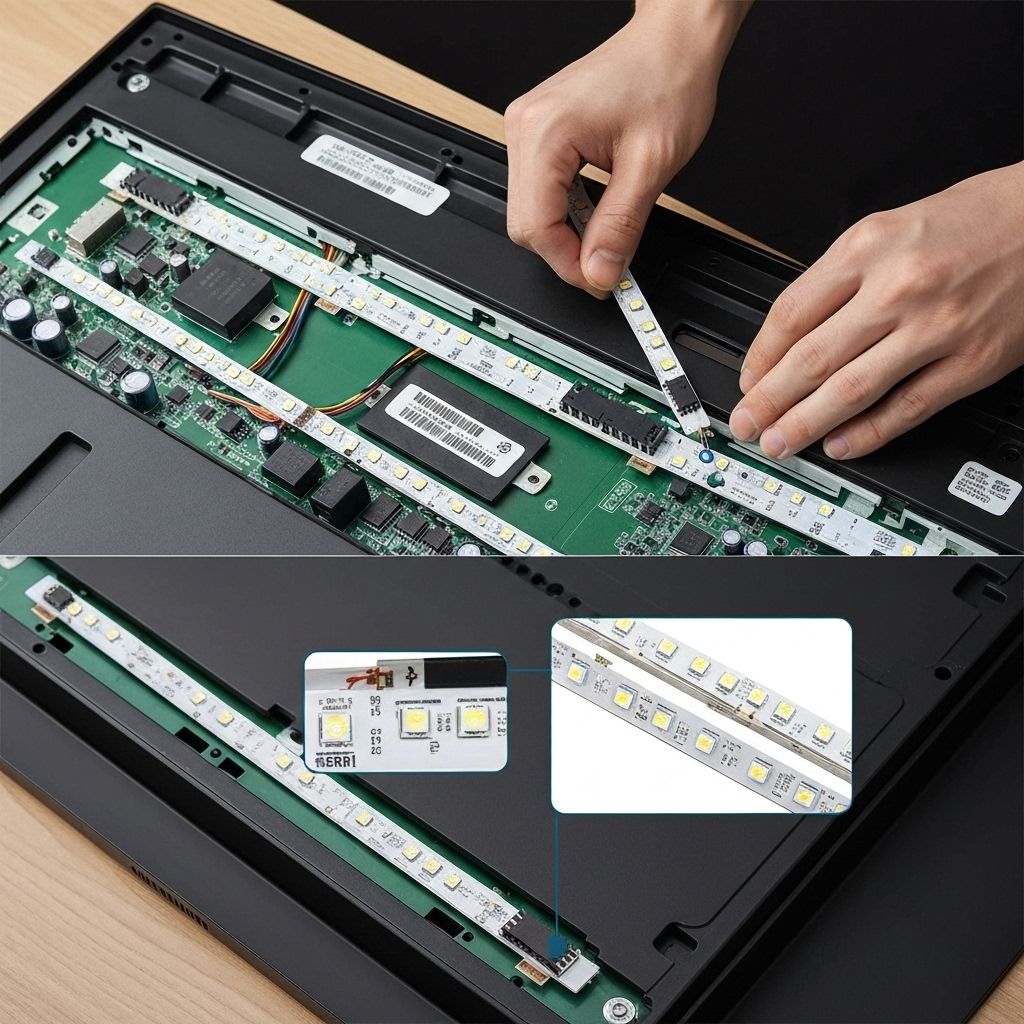
Remove Back Cover and Locate LED Strips
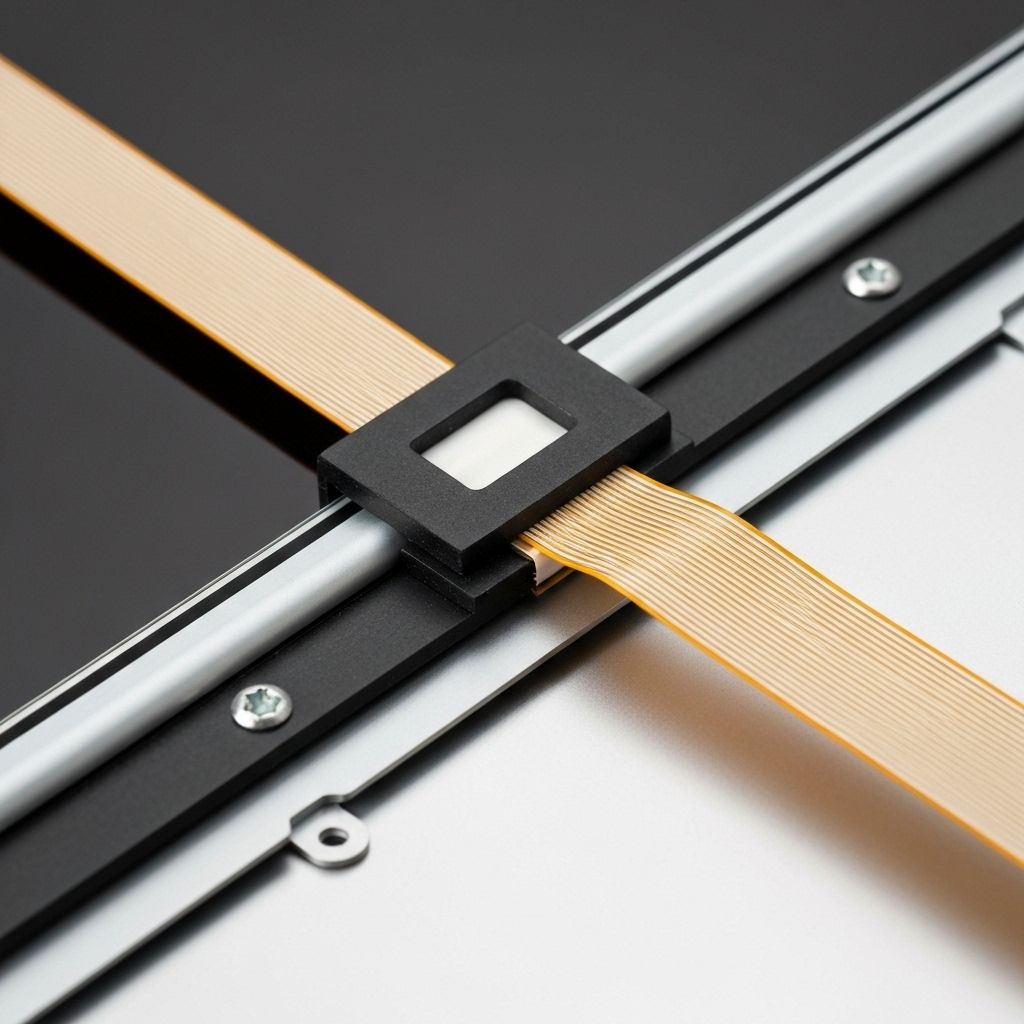
Remove all screws from the back cover. Disconnect the power supply and main board cables. The LED strips are mounted on the metal chassis behind the diffuser sheets. You'll see the LED driver board with ribbon cables going to each strip.
Test LED Strips
Before disassembly, use an LED tester to identify which strips have failed. Connect the tester to each strip's input connector. Working strips will light up. Mark the failed strips. In this case, strips #3 and #7 were dead (open circuit).
Disassemble the Panel Stack
This is the most critical step. Use suction cups to lift the LCD panel straight up - NO TWISTING. The panel is a sandwich of: LCD glass, diffuser sheets, reflector sheet, and LED strips on the metal backplate. Carefully separate each layer and place them in order on a clean surface. Take photos to remember the orientation.
Remove Old LED Strips and Install New Ones
The LED strips are adhered to the metal chassis with strong tape. Use a heat gun on LOW setting to soften the adhesive, then carefully peel off each strip. Clean the surface with isopropyl alcohol. Install the new strips one by one, ensuring they align perfectly with the screw holes in the diffuser sheet. Press firmly to ensure good adhesion. Connect all the ribbon cables.
Test Before Reassembly
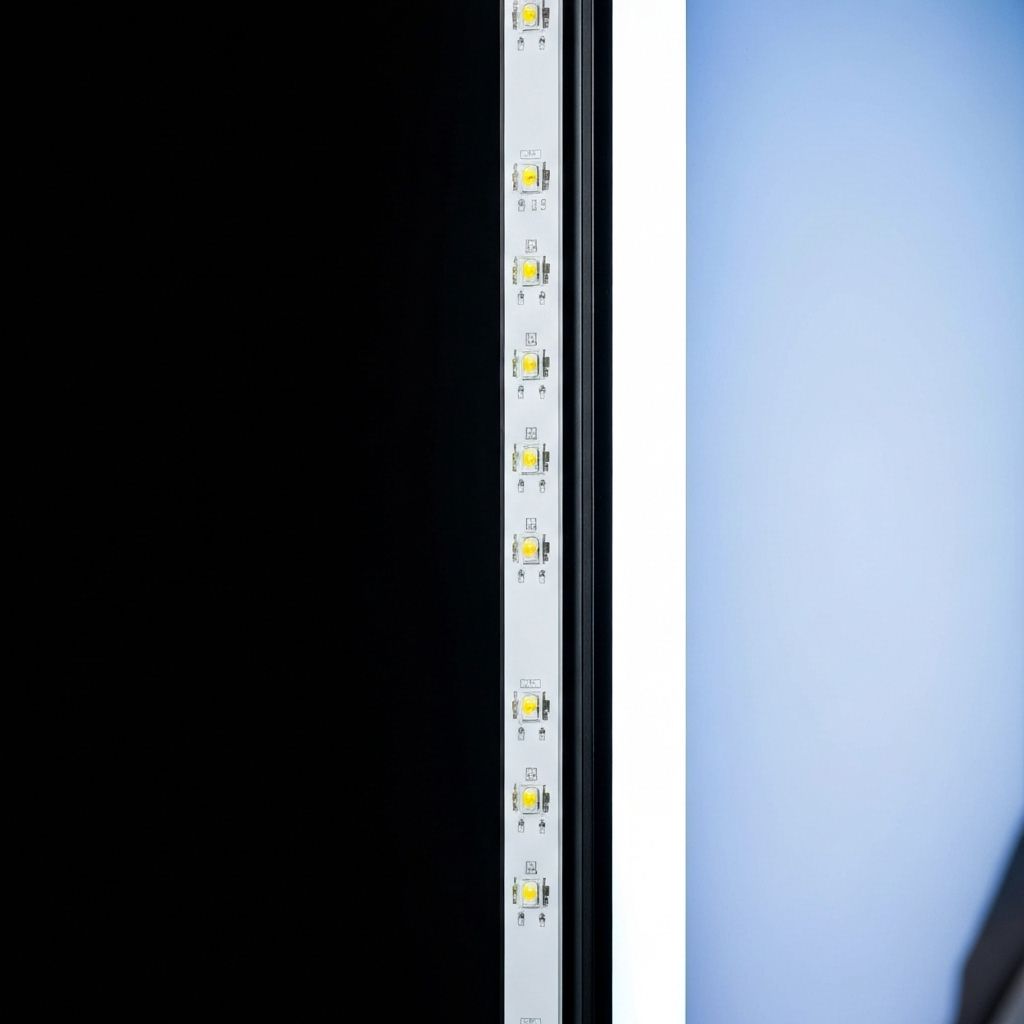
Before putting the panel stack back together, connect the power and test the backlight. All strips should illuminate evenly. Check for any flickering or dead sections. Adjust brightness to 100% and verify uniform output. Once confirmed, power off and reassemble the panel stack in reverse order, being extremely careful with the LCD glass.
Conclusion
After reassembly, the TV displayed a perfectly uniform backlight with no dark spots or flickering. The new LED strips are rated for 50,000+ hours and should outlast the original strips significantly. Total repair time was approximately 3 hours. This repair saved the customer $800+ compared to a new TV, as the panel itself was in perfect condition.